
Product photography is essential for advertising products online. While shooting a product it is necessary to set an appropriate background for the photograph. This will define the visual appearance and sales of your products. Here are some tips to help you set up the perfect background for your product photo-shoot.
1. Use a Plain White Background:
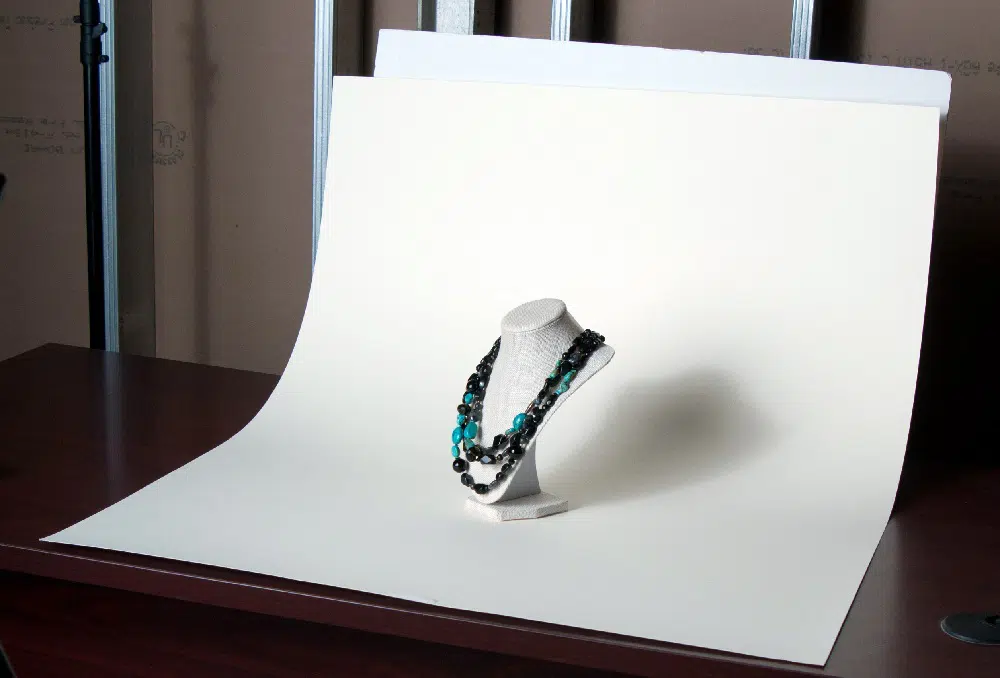
Opting for a white background is a smart choice as it draws complete attention of the customer to your product. On the other hand, a busy background is the worst for highlighting a product. There are also different colors you can choose from but the white color gives a perfect professional look to the photograph. But having a white background isn’t as simple as placing the product against a white wall. The camera will pick up even minor imperfections and corner lines.
To solve this problem you can use a sweep (a large piece of paper) that covers the bottom and the background of the product. The curves of the white sheet are not visible on camera emphasizing the product details.
2. Use Brands as Inspiration:

Taking brands as an inspiration can be a great idea as they use proper techniques for making the photograph look professional. You want to look for social media accounts of the brands to access the full collection of product photographs. You can learn different techniques just by looking at those photos. Search for different brands in your product category to understand how to highlight the product, what props to use and which background will work best for your product photography.
3. Follow the Rule of Thirds:

The rule of thirds is a guideline to compose a well-balanced image. According to this rule, you should divide an image into nine small squares by placing 2 horizontal lines and 2 vertical lines at equal distances. The product should be placed along the lines or at the intersection of the lines. This rule is based on the way a human naturally looks at an image. Studies have proven that people tend to look at the intersection points naturally instead of the center of the image.
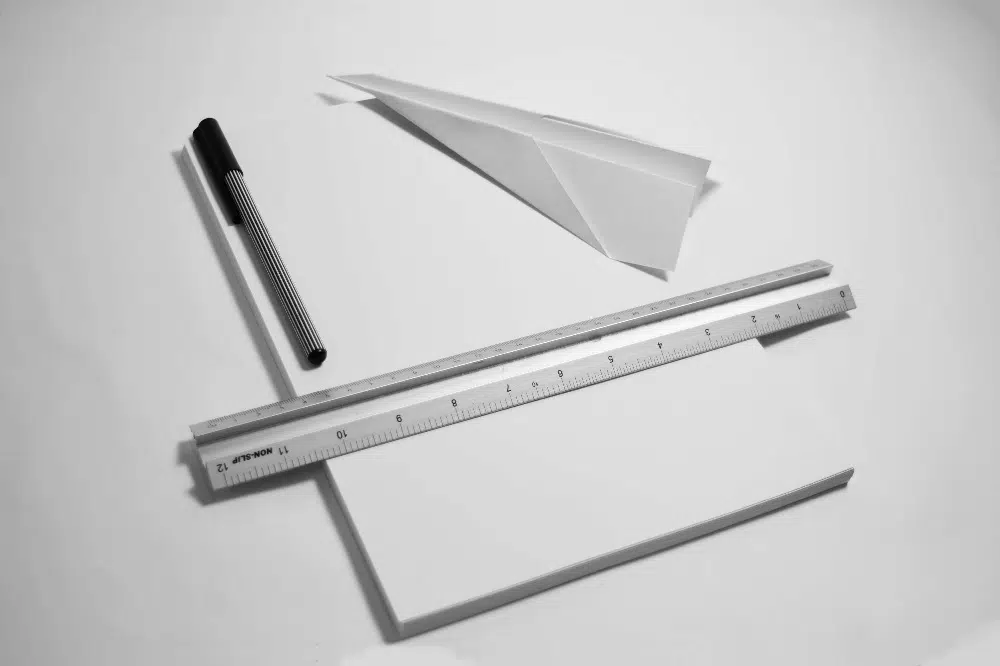
4. Opt for Simple Props:

Clicking pictures with complex props can certainly shift the attention of viewers. Your product should be the main focus of your product photograph. However, props can enhance and brighten the visual appearance of the photograph. Always choose a simple and relevant prop that matches the color scheme of your product. This way the prop will still look like a part of the photograph without taking the focus away from the product.
5. Use Correct Lighting:
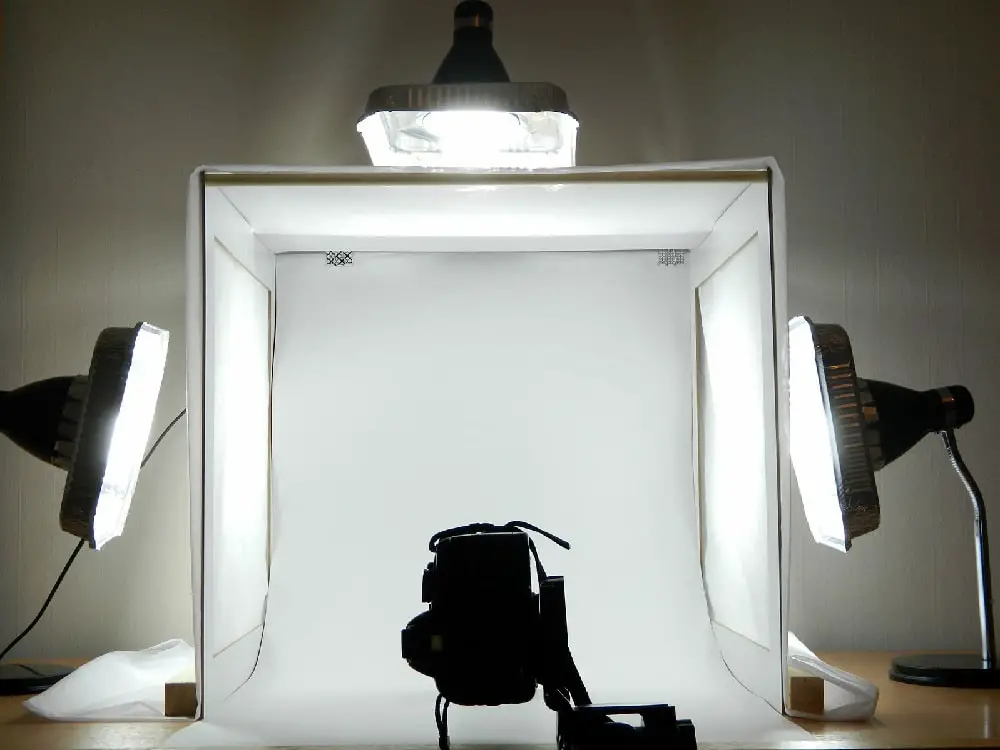
Without proper lighting, your product and its background will look dull. So, it is important to use proper lighting to brighten the image. There are two types of lighting for product photography: artificial and natural lighting.
Natural light simply refers to the sun while artificial light normally refers to electrically generated light. Natural light (soft light) is good for capturing people, food and clothing. While artificial light (hard light) is primarily used for indoor products like furniture, cookware, electronics and more. Artificial studio lighting is necessary for those people advertising on Amazon or Flipkart.
6. Invest in a Tripod:

Tripod may seem like an unnecessary expense while starting out but it makes a huge difference in the clarity and quality of the photograph. Also, they are not that expensive and easy to use. Tripod stabilizes the camera to help you focus on the product. Using a tripod reduces the chances of a blurry photograph while making it look high-quality and professional. It doesn’t matter if you choose to shoot on a DSLR or a smartphone, you can find tripods for every camera in various price ranges.
7. Highlight the Details:
Most people are visual learners who don’t look at the description while buying products. So you should click a photograph that displays the details clearly. To ensure you highlight all the details take time to click multiple pictures of every detail. Providing multiple images displaying every small detail gives your customer a better idea of what your product has to offer.
8. Use Various Angles for Clicking Multiple Shots:
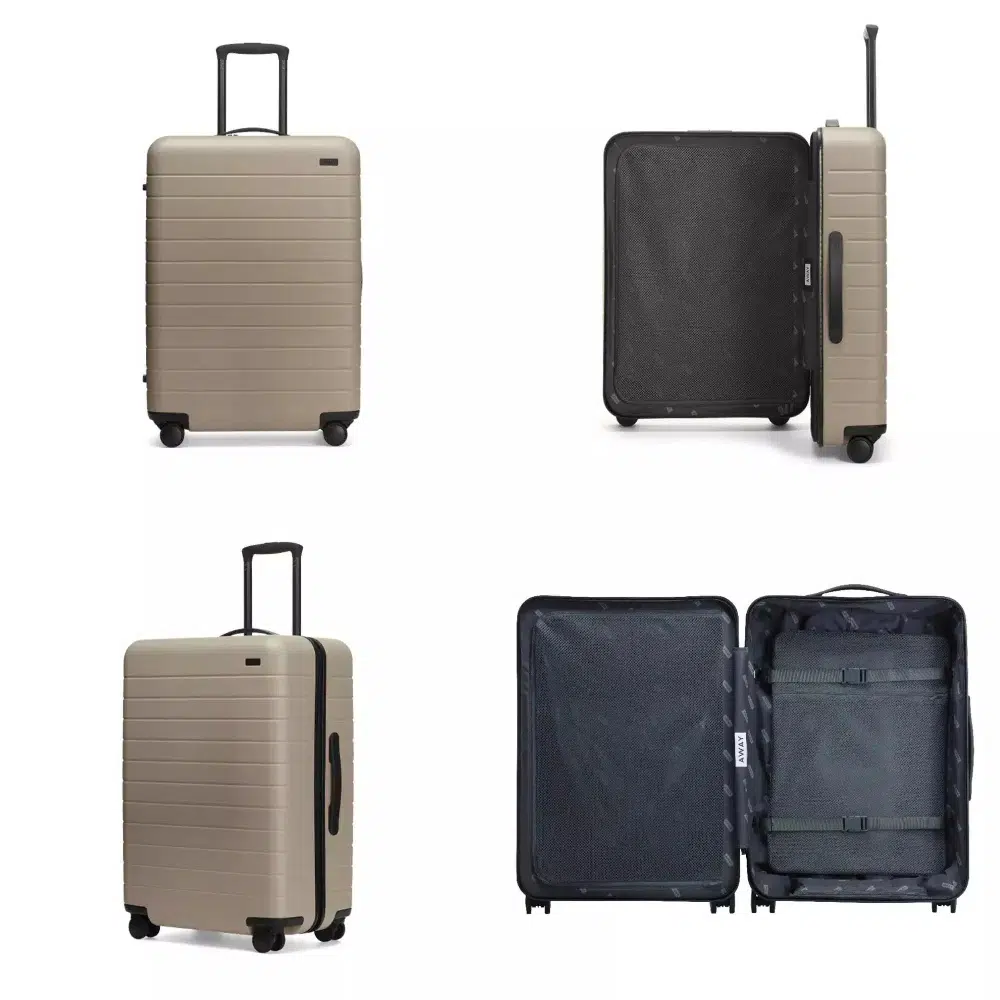
You should always take multiple shots of a product to stimulate real-life experience. Just like a customer would look, hold and use a product you must try to provide this experience by using various angles. Taking multiple shots will ensure you have enough options for editing.
While exploring different angles you will be surprised to see how angles affect the quality of the photograph and make them look professional. With digital cameras today it is easy to click multiple images and strategically choose one.
9. Soften the Shadows:
You should try to eliminate the shadows created by hard light. There are two ways to lessen the shadows. First, use fill light which simply means use another less intense light source to counterbalance the main light. Just place your product between the fill light and the main light. Second, use Flashbulb Bounce card which is a reflector card that bounces the main light to the surface under your product. You can attach the card to the camera flash to lessen the shadows. If you are shooting on a camera just place it opposite to your light source, this will act as a fill light.
10. Learn Basic Editing:
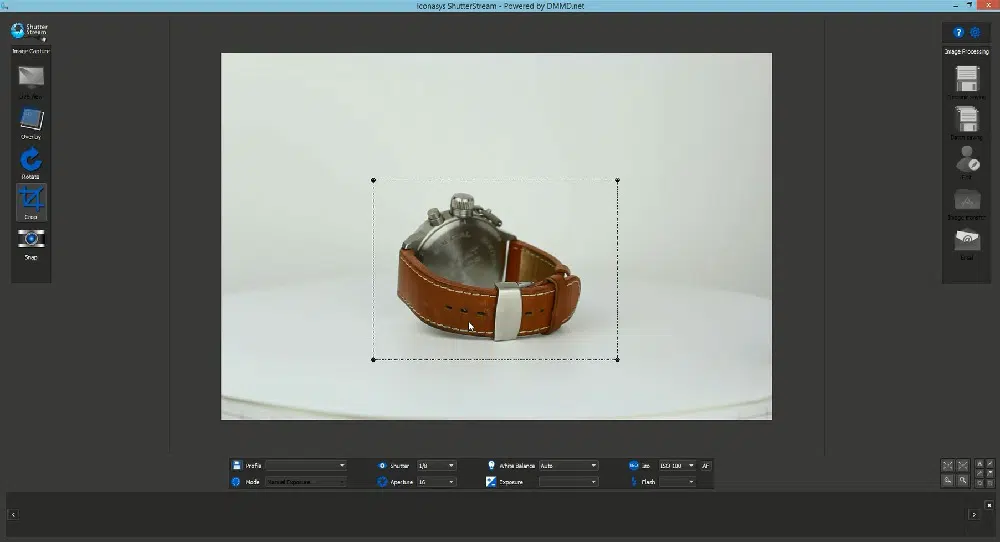
If you’re a product photographer you must know basic editing. There is always a chance that you won’t like any of the captured images, this is where your editing skills will come handy. Making some small changes in saturation, exposure, contrast, etc. can completely change the finished look of the product.
With some editing techniques, you can also change the background of your photograph. The challenge with editing is that it can be difficult to learn without professional training. However, this can be easily solved by looking for free tutorials that will guide you through the basics of editing.
A great professional shot of your product can certainly attract more buyers. Creating a perfect background can be challenging but you can accomplish is using these tips.
