As a graphic designer or as an illustrator, you might be using a number of tools and different software to make your designs creative and attractive. And using perfect color combinations with some unique trick or gradient form must be a mandatory step of your design. But if you are an aspiring designer or student who is still learning from the beginning, you must be wondering how other designers apply such beautiful gradient colors in designs?
Adobe illustrator is one of the most used software amongst designers and illustrators in the field of graphic design. If you are creating something in adobe illustrator and you want to apply some dreamy color gradient effects to your creation, then you can simply follow the below mentioned easy steps and techniques to do that. There are two options available in adobe illustrator to apply the color gradient.
One is a gradient tool, and another one is a mesh tool. First, let’s understand the gradient tool in Illustrator:
1. Gradient tool:
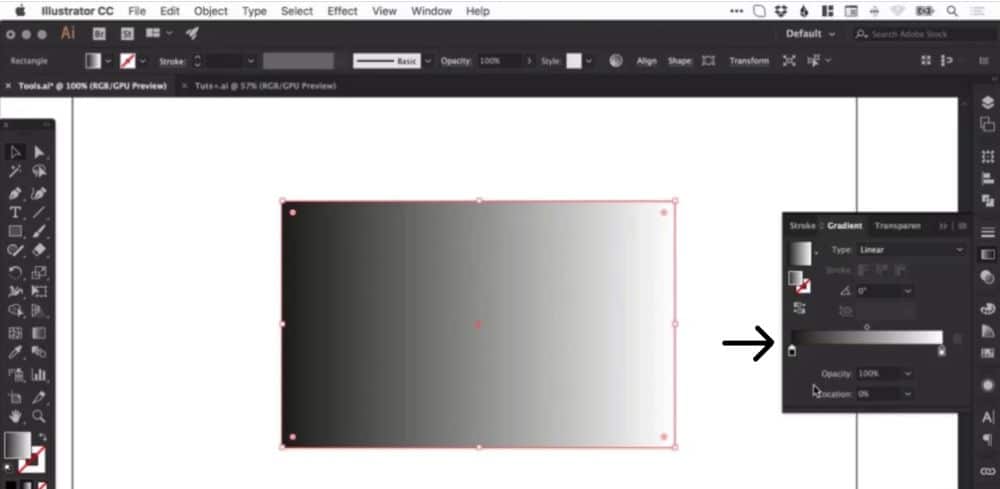
The gradient tool is one of the classic tools from the tool panel of the illustrator. It is used to fill colors into the image, especially when you want to blend two colors into the same object. There are many possible ways to give a blending color effect to an illustration.
But when you want to apply multiple colors with a blending effect into a huge object such as a background or any significant part of the design, the gradient tool can save lots of time and effort for you. You can access this tool on the Gradient panel. You can find this located in the toolbar on the right side. If not, then you can also access this by going to Window > Gradient. To use this tool, you can follow the below steps:
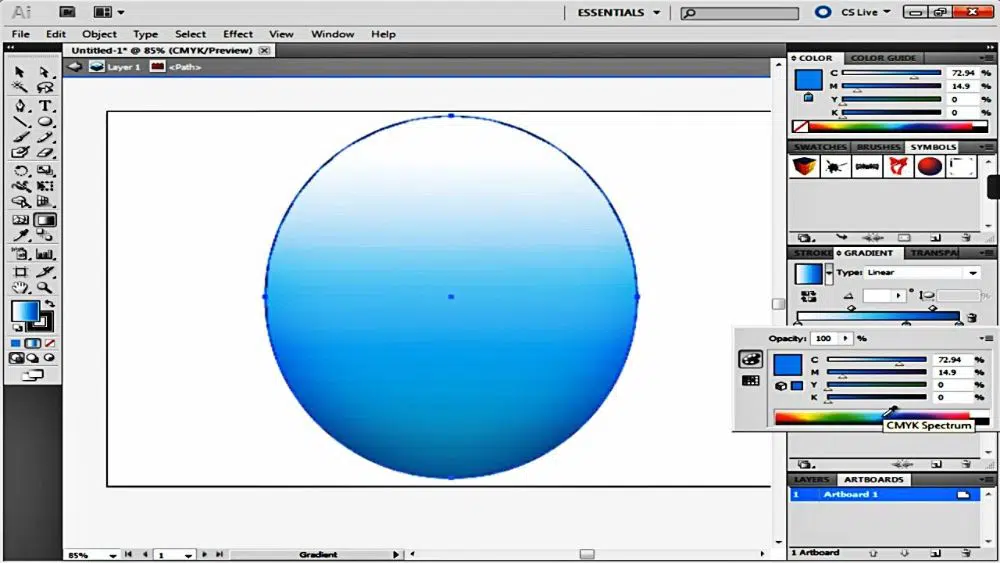
1. Where you can find the gradient tool:
If you want to apply a gradient to any object first, you need to select that object, and then you can click on the gradient box from the left side or gradient bar from the toolbar on the right side. After clicking it for the first time, it will apply default colors, which are black and white or apply the last used colors from the gradient tool.
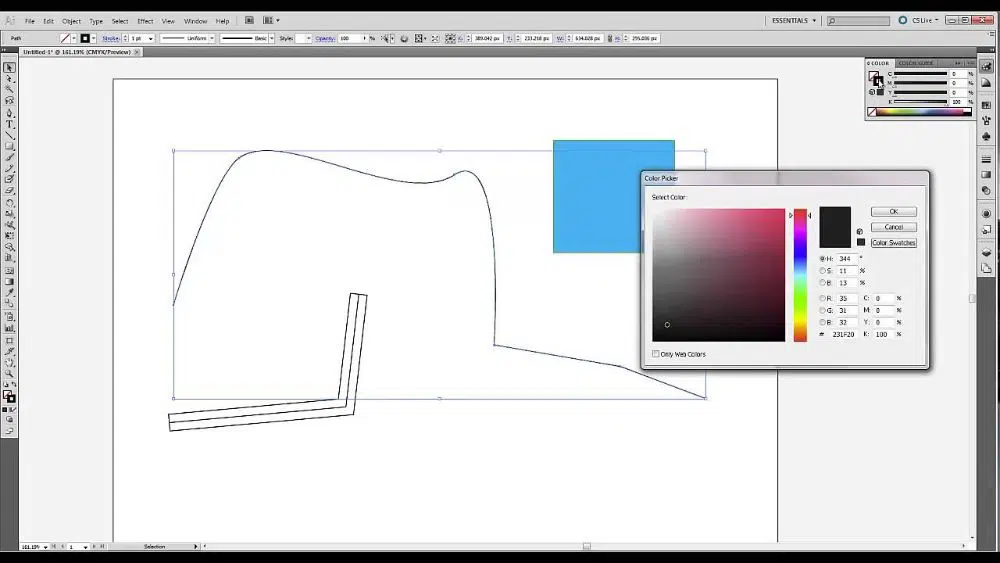
2. Selection of a starting color:
After clicking on the gradient tool, the next thing you want to do is to select colors according to your need. So in order to change colors, you need to change the starting color and ending color. This condition is only when you are working with only two colors. To choose a starting color, you need to double click on one of the color stops under the gradient bar. This will open up a box with various color options. You can simply select one color that you want as your starting color.
3. Selection of an ending color:
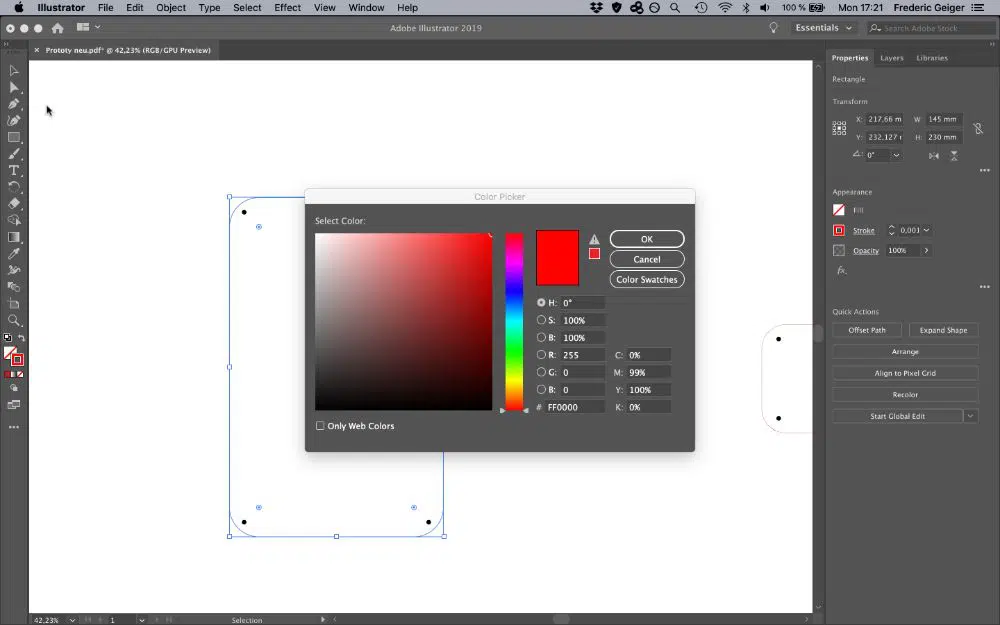
After selecting your starting color, now you need to select one more color, which is your ending color. Because gradient is a fine blend of a minimum of two colors, it is necessary to select one starting and one ending color. To select your ending color, you need to follow the same step as selecting your starting color. You just need to double click on the next color stop, which is on the opposite side of your starting color, and this will again open up a box with various colors, and from that, you can choose your ending color.
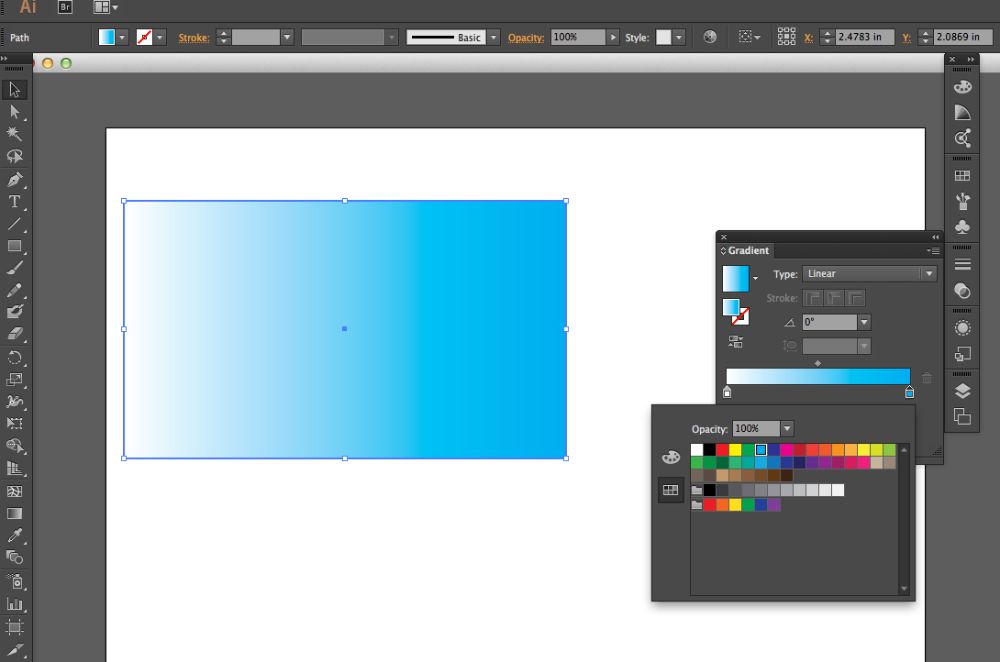
4. Position and proportion of colors:
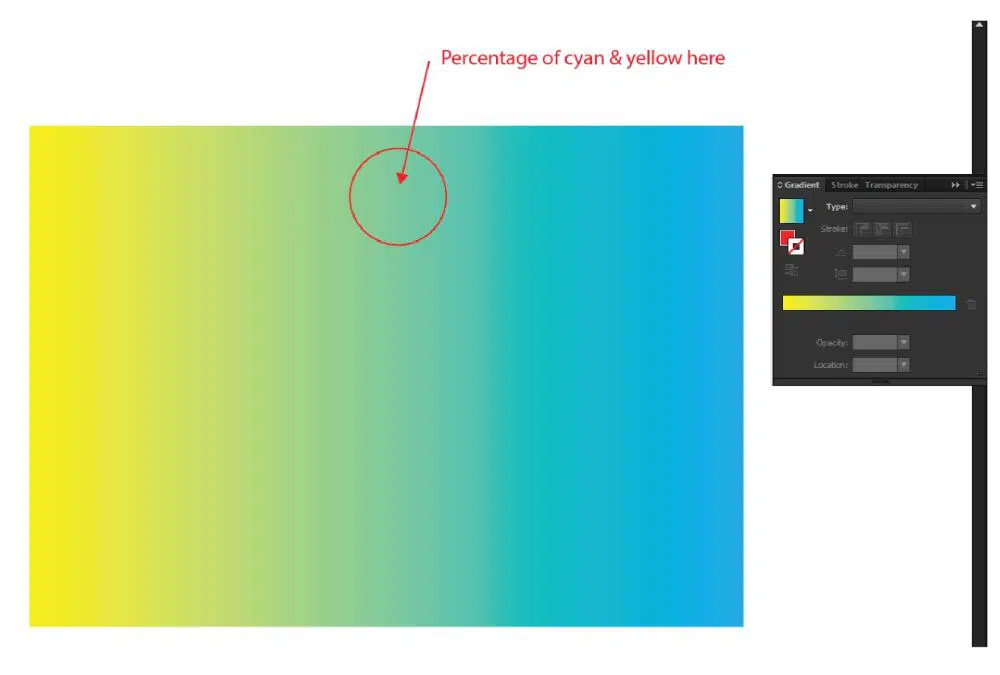 After selecting two colors of your choice now, you can decide the position of these colors as well. You can select any color that you want more than the other one. For this, you just need to click and drag the color stop button of any color, and you can see in the gradient bar how it can look by changing the proportions of the colors. Another way is also possible, and that is by adjusting the midpoint of the gradient. That can also help you to change the look and smoothness of colors.
5. Adding another color:
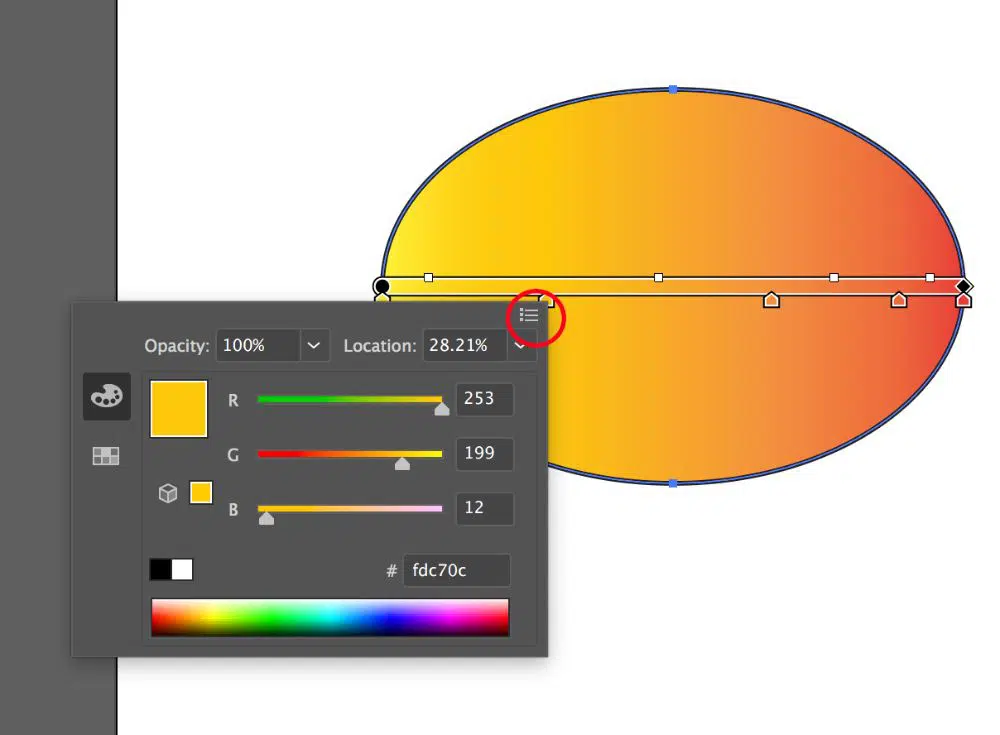
Now, if you want to add more colors to your gradient, you just need to follow a straightforward step. You have to click below the gradient bar, and another color stopper will appear. By double-clicking on this color stopper, you can select any color of your choice, as previously mentioned. If you want to add more and more colors, you just have to repeat this step simply.
6. Delete unnecessary color stopper:
Now, for instance, while adding more colors, you have mistakenly added more than the required color stopper. So to delete any of them, you just need to select that respective color stopper and need to click on the delete option, which you can find next to the gradient bar. That’s how easy it is to make a perfect color combination for your gradient design.
7. Angle in gradient tool:
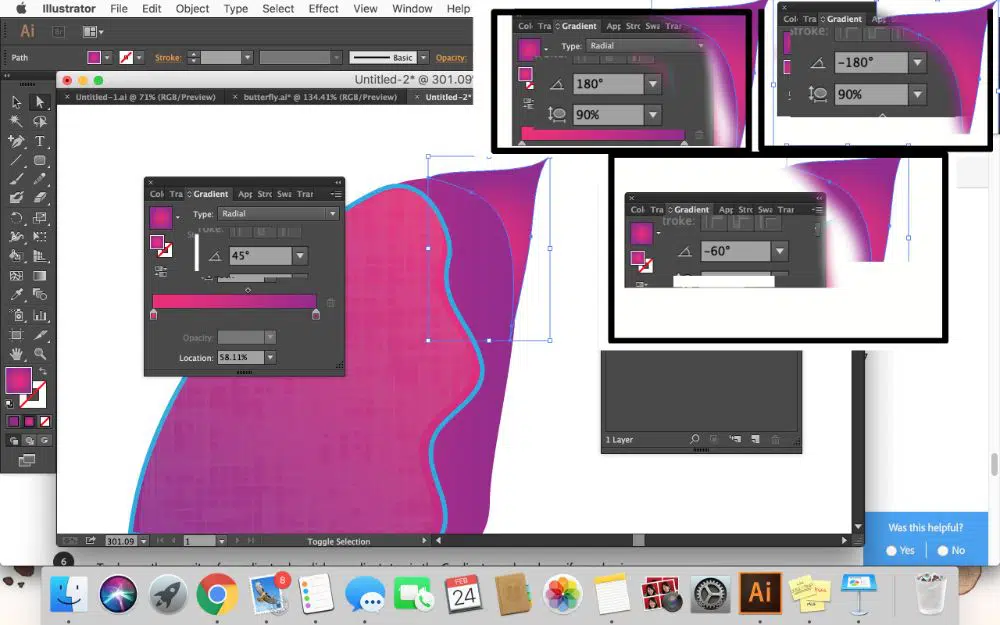
After finalizing the colors of your gradient, you can manage the angle as well. You can choose any angle from the angle drop box after clicking on the angle bar. And you can check different angles and the resulting look. Else you can simply enter the angle value that you have decided already in your mind. This can be time-saving as well.
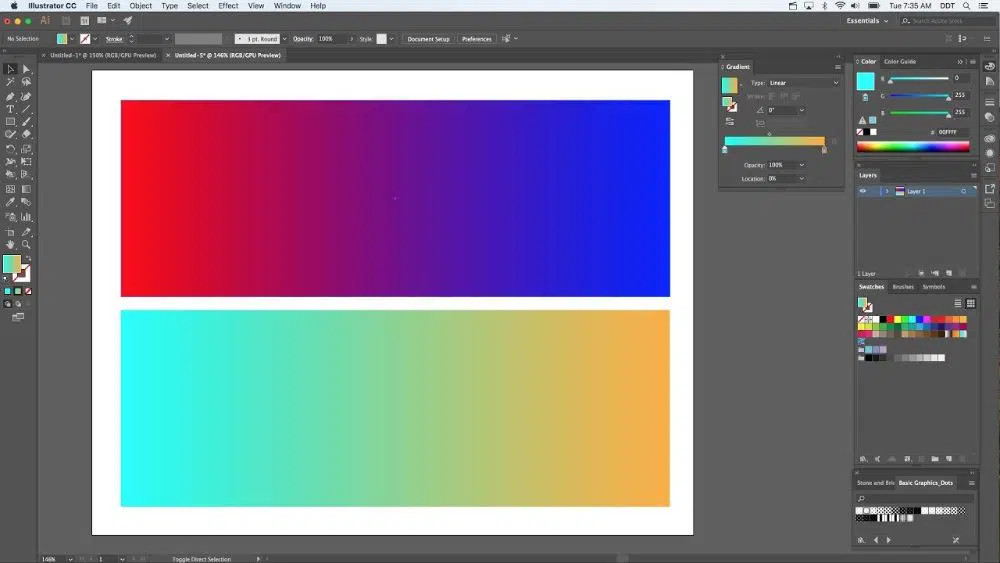
8. Types of gradients:

If you want a different shape or type of gradient color, you can quickly have it. There are different types of gradients available in the gradient tool also. You can simply select any type such as radial, linear, or freeform to make your gradient even more creative and different. Different types of gradients can create different types of impressions. And it can make colors look even more dramatic or attractive.
9. Opacity in gradient tool:
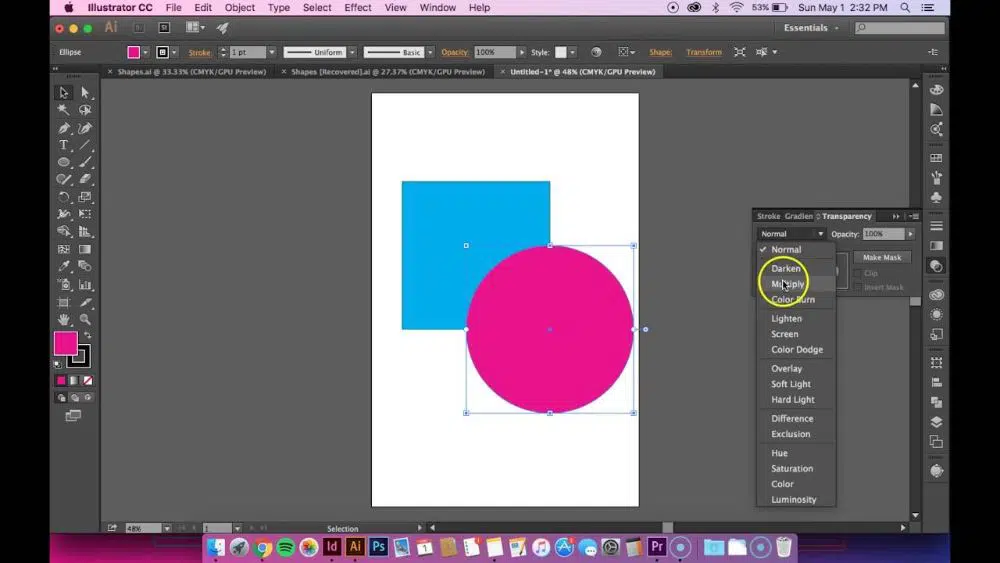
Lastly, if you want to change the opacity of any color, you can do that too by one easy step. You just need to click on the opacity dropbox, which is located under the gradient bar, and you can select the opacity level as per your need. If you see any checkered pattern, that means the opacity of that color is below 100%, which is indicated as transparent.
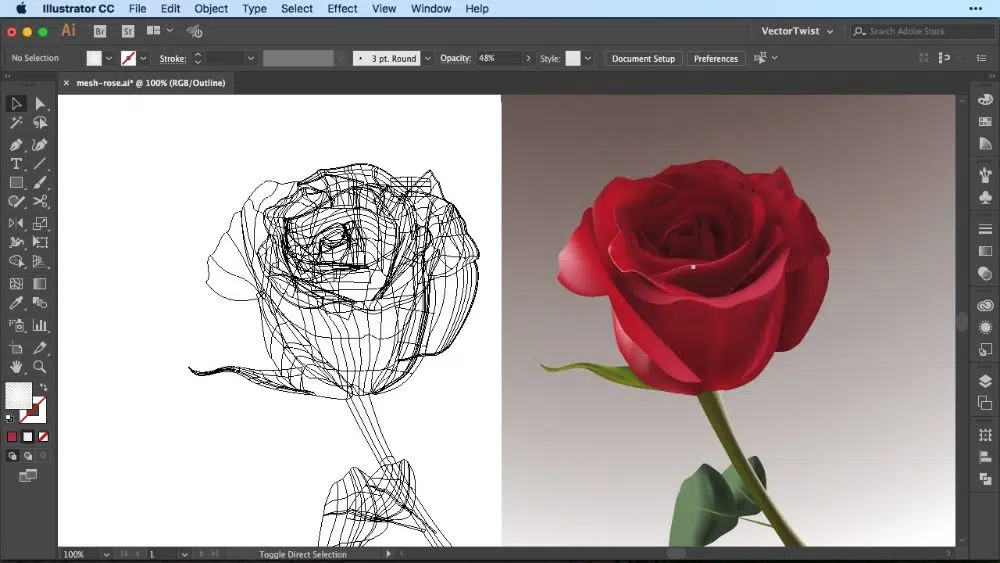
2. Mesh tool:
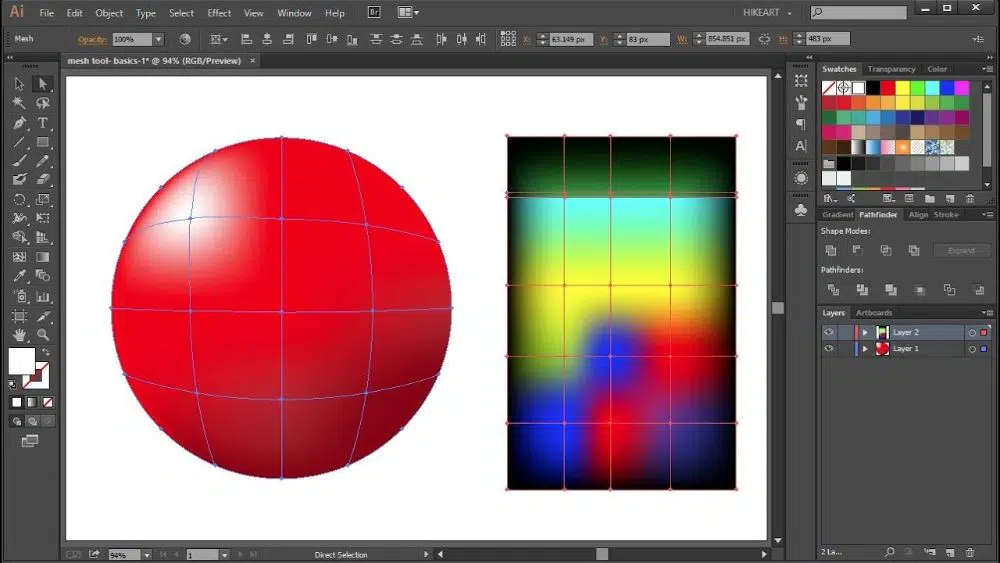
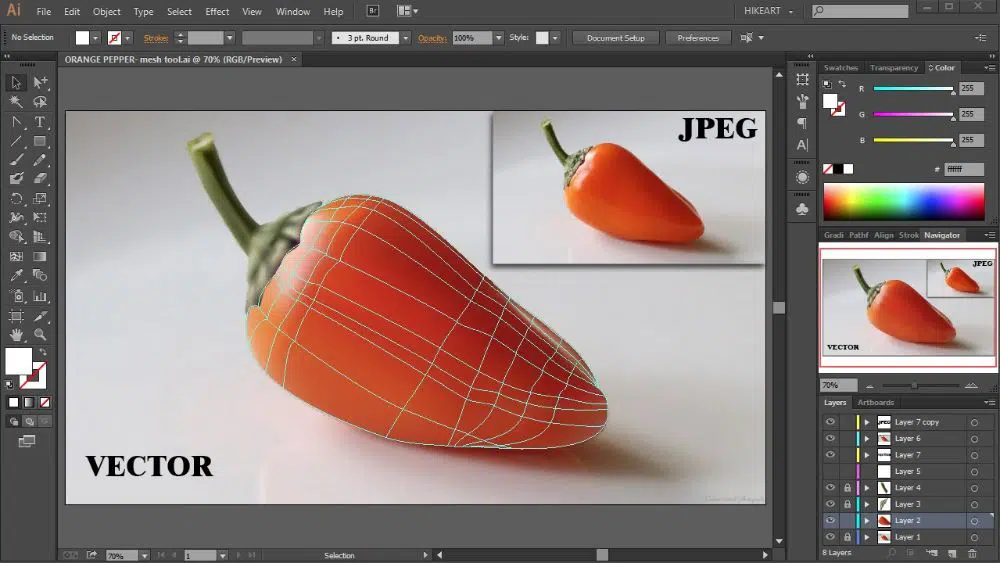
This feature is like an advanced version of a gradient tool. This tool is very powerful and useful in adobe illustrator. Although it does require some time and practice to get full command over its use. It is a bit difficult to use if you have never used it before, but you can learn it there is nothing impossible about it. This tool can give unique colors and dimensions to your illustration. It can actually give a 3D effect to your illustration. So to apply this tool, you can follow the below-mentioned steps:
1. Apply the mesh tool:
To apply the mesh gradient tool, first, you need to select the click and select the object, then go to the object from the above table and select create a gradient mesh option.
2. Submitting details in mesh tool:
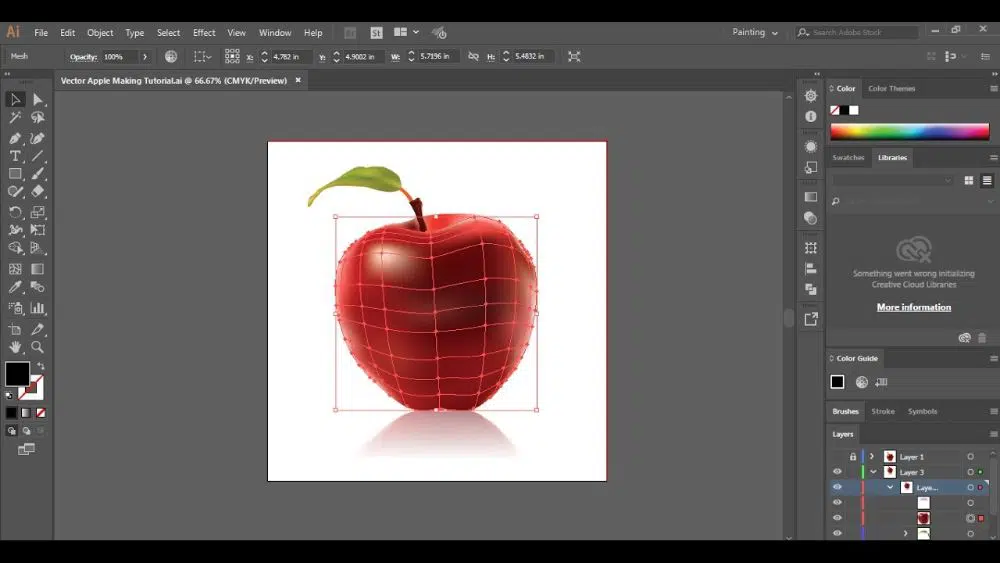
After selecting the ‘create a gradient mesh’ option, one dialog box should appear, which can ask you to select the values of rows and columns, appearance, and highlight. To start with, four columns and four rows can be enough because more than that can increase complexity levels and difficulty levels. You can select these values as per your choice and preference, then just hit ok.
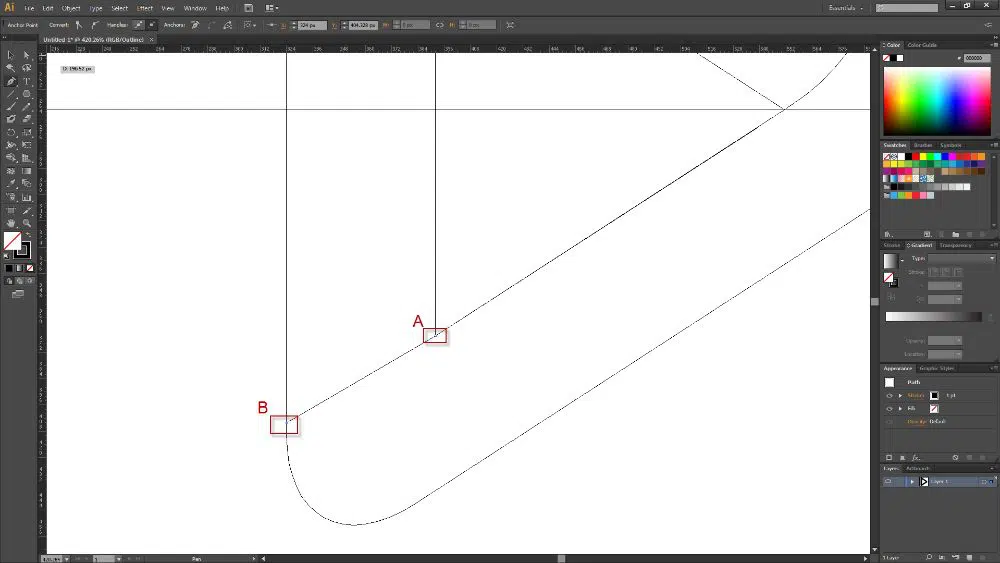
3. About the anchor points:
Now you can see an applied mesh over your object. In this, you can notice anchor points, which are at the edge of the mesh and the intersectional lines of the mesh. You can manipulate these anchor points to manage the shape and proportion of colors easily. You just need to click on the direct selection tool and select any of the anchor points you want to handle. They all have connector Points with bezier handles to manage the contouring of that respective grid lines as well.
4. Applying color to the subject:
After creating a grid as per the required shape and size, the next thing you need to do is fill the colors. Applying vibrant colors and making it more dynamic, the next step is using a gradient mesh tool over this grid. So pick the gradient mesh tool from the toolbar and do ensure that the Fill is activated. And then, click on any grid point from the object and click on the desired color from the swatches dialog box. This will apply that color around that grid point.
5. Completing the color process:
Now next thing you need to do is fill in the remaining colors to complete your illustration. And for that, you just have to follow the same process. Simply select various grid points and apply your desired colors to complete your colorful creation. Here one thing you should keep in mind is that you need to be very careful on the edges because if you click on the line where the grid point is absent, it will directly add another unnecessary grid point.
6. Easy way to fill colors:
Not every anchor point of your grid needs to require different colors. Some of the parts of your illustration might require the same colors only. And selecting a grid point and then selecting color every time to fill colors can be a little tricky. It can consume lots of time and energy. To make this easier, all you have to do is hold the shift key after applying one color to only one of all the grid points and select other grid points that also require the same color. This will directly apply the same colors to all the selected grid points.
Conclusion:
Gradient color effects are highly used in any illustration or design. They serve a way better dynamic look to the design than standard flat colors. So in order to make designs vibrant and fascinating, using a color gradient tool is the best choice. In adobe illustrator, this tool is a highly used and loved tool by any designer because this tool can change the whole look of a design. Any artist can excel in this tool, and this software makes their designs more dynamic and more realistic, just like creating through colors and brushes can make. And now you know where to find tools in adobe illustrator for the same and how to use them for your designs. We have mentioned all the necessary details and tried to explain steps in the easiest possible way for anyone who wishes to learn this. Anyone who needs to understand the gradients in Adobe Illustrator can come to this blog.
