In this tutorial you will learn how to create a website mockup using Adobe Illustrator. Some techniques used in this prototype design tutorial are aligning elements, creating gradients, creating colour palettes, slicing, and editing the outputted HTML.
1. Create a new Illustrator document with the right size:
- Start Adobe Illustrator
- Choose File -> New
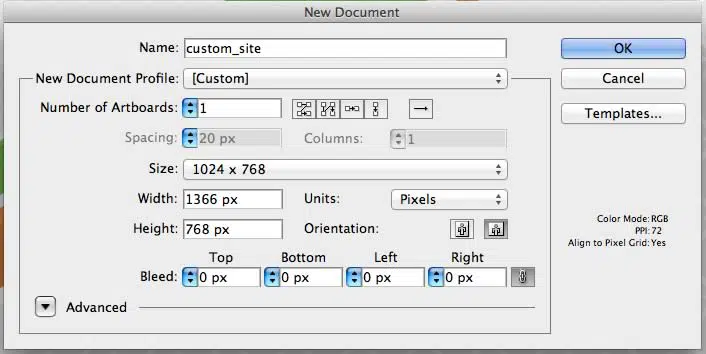
- In the New Document dialog box, Name the file custom_site and leave the New Document Profile to Custom, the Width to 1366px, Height to 768px and ensure the Units are in Pixels. If, later on, you will be designing an entire web site you can increase the Number of Artboards (one artboard for each web page).
- Choose File -> Save As
- In the Save As dialog box, leave the name as custom_site.ai.
- Choose View -> Rulers -> Show Rulers to show rulers on the artboard.
2. Find some inspiration
In this tutorial, I am going to build a business website that has a warm and inviting theme. If you don’t yet have anything in mind as to how you want your design to look, choose a website online and try to adopt a lot of it’s elements like layout, colour scheme, and behaviours. A good technique to start with is to print out the web page you want to prototype, and with a pen in hand, draw squares around the main sections and give them appropriate names. Common section names are ‘header’, ‘article’, ‘footer’, ‘nav’, and ‘section’. This will not only help you design the prototype, it will also transfer over into the code when you start doing the custom HTML and CSS. Your goal is not to create an exact replica of an existing site, it is to draw some inspiration so you aren’t left staring at a blank screen.
3. Setup your colour groups
In this tutorial, a colour swatch is going to be a colour. A colour group lets you group similar colour swatches together in the Swatches panel.
- In the Swatches panel, position your pointer over the brown swatches and choose any brown to start.
- Click the Color Guide panel, on the right side of the workspace. Click the Set Base Color To The Current Color icon (which is right below ‘COLOR’). Choose Shades from the Harmony Rules menu.
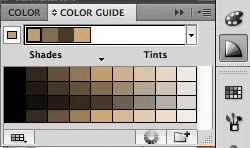
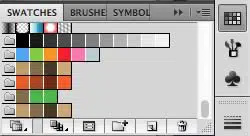
- Click the Save Color Group To Swatch Panel button. Now you will have all four colours saved as a group in the Swatches panel.
- Choose Edit -> Edit Colors -> Recolor Artwork
- As practice, select a colour group is different from your browns.
Under the ‘New’ menu in the Recolor Artwork dialogue box, you should see the colours change as you select a different colour group. What this does is map each colour from the Current Colors to the New colours. This is convenient for when clients request to see how the entire design would look if colours were different.
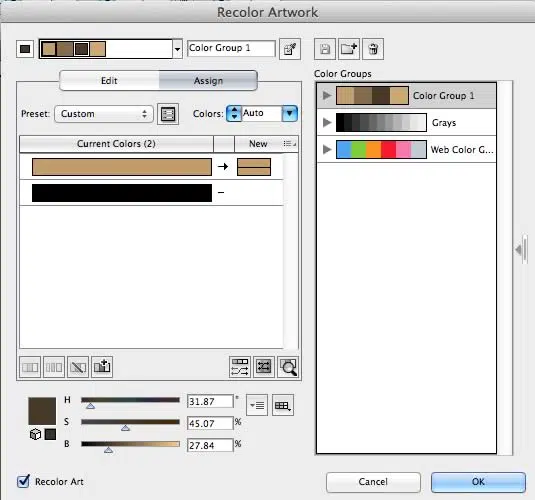
By selecting a different colour group, you will automatically change the associated colours in your graphics.
I like to create an additional palette for stand out colors, such as for call to actions, menus/navigations and links. To do that, just follow the same steps you just completed but with a vibrant colour. I initially went with red, then opted to go with green as my vibrant colour.
4. Draw the different areas of your site
Most of the work you will be doing in web page prototyping is with Shapes- most notably of which is the Rectangle Tool from the Tools panel.
![]()
- Position your pointer over the upper left corner of the art board. You should see the word “intersect” next to the pointer, indicating that the rectangle you draw will snap to that corner of the art board.
- Drag to the lower right corner of the art board.
- Notice the controls for the fill and stroke at the bottom of the Tools panel.
![]()
- Click the Fill box
- Open the Swatches on the right side of the workspace. Select one of the shades of brown from your saved colour group.
- Notice how your rectangle fill changes to the swatch you selected. This area is going to be the document background.
To ensure that your colour choices work together, stick to the saved swatches that are all of different shades. When you want to lighten one of your swatches, adjust the Opacity found at the top of your workspace.
![]()
For the site I am building there will be many sections (listed from top to bottom). The upper area is for the logo and branding. Below that, there will be navigation. Then we will create a page specific banner with an image, headline, preview text, and a link to read more. The next area will be to showcase our most popularly visited articles. They will have a heading, an image, and introductory text. Finally we have the footer containing our contact information and logos of our happy clients. Continue using the rectangle tool to map out each section of your site.
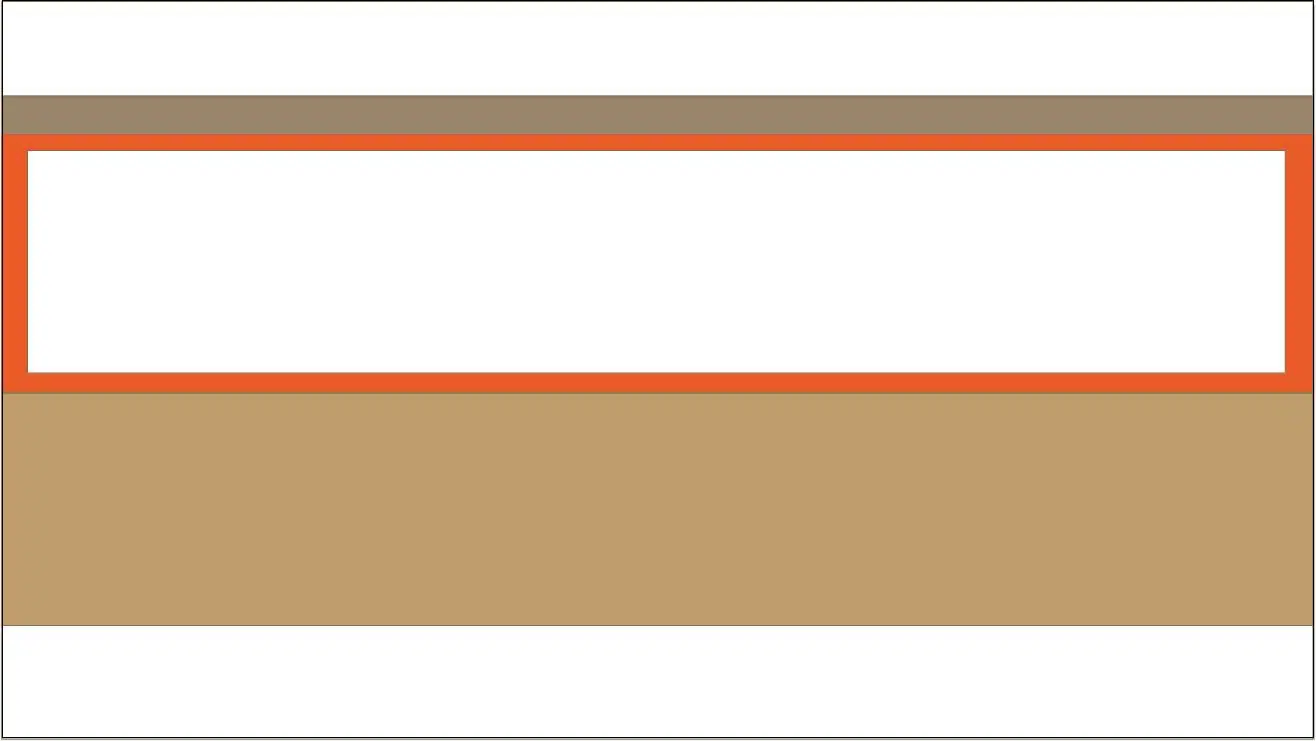
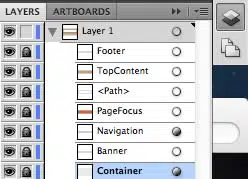
It will be helpful to lock each layer in place before adding more rectangles on top.
- Select Layers on the right side of your workspace
- Click the arrow to the left of Layer 1 to expand it and show all of the elements that are contained in that layer
- Select the eyeball next to Layer 1 to make it disappear. Press it again to make it reappear.
- Select the lock next to Layer 1 to protect your work from any changes. Press it again to make it editable.
- Double click the text of an element within a layer to rename it.
- Drag one element up. When one element is higher than a another element it will overlap it. Drag it down to put it back.
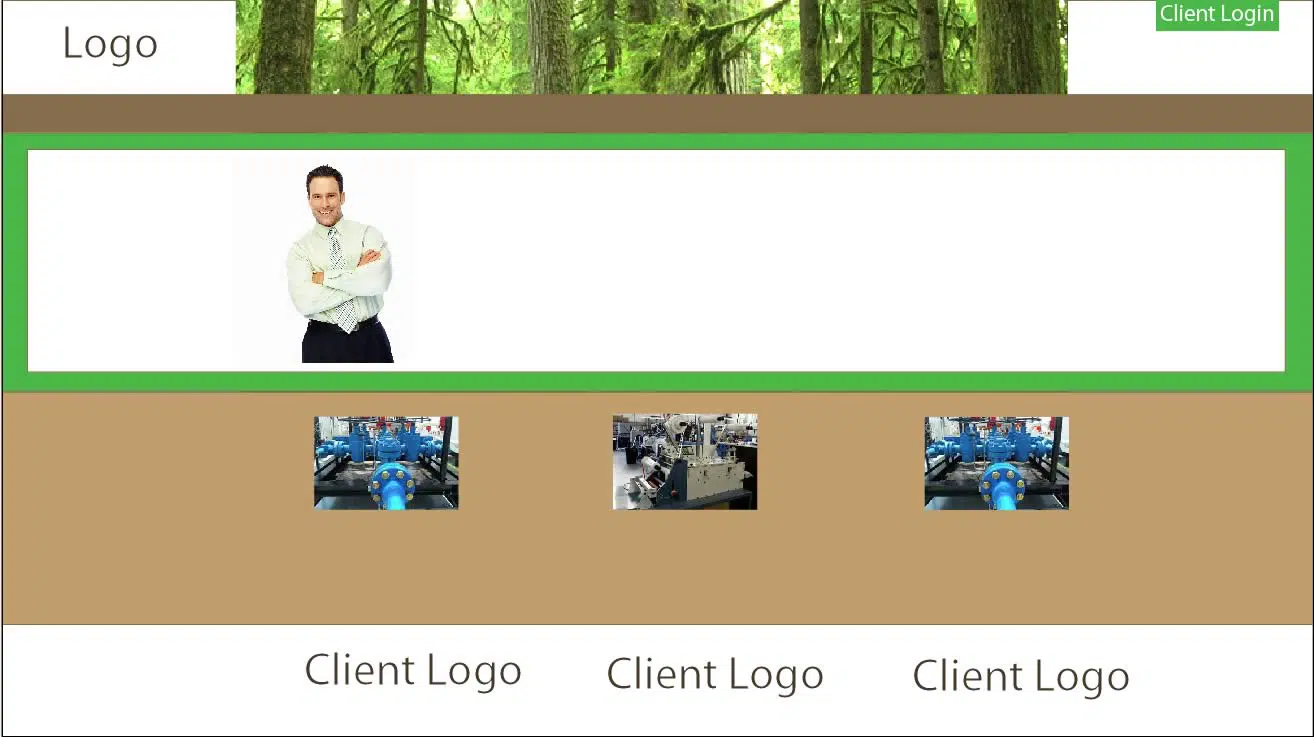
5. Place the stock images provided to you by clients about the business. Ensure that that you have copyright permission to use these.
- Choose View -> Fit Artboard In Window to centre the artboard
- File -> Place. In the Place dialog box, navigate to the image you want to select, select Show Preview and then click OK. The image will be placed onto the art board.
- View -> Smart Guides
- Select the Selection Tool
![]()
- Select the Image and use the green smart guides to help with proper alignment
- Continue adding your stock images by repeating these steps until all of your wanted images are in place.
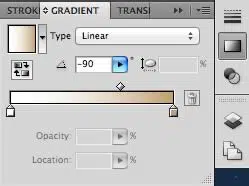
6. Add a gradient
- Layers -> Unlock the large brown section
- Gradient -> Set Type to Linear, Angle to -90 degrees
- Double Click the black box
- Select brown in the colours dialogue box
7. Add headlines and text.
- Select the Type Tool then click the art board to type some text
- Double click the text to highlight
![]()
- Change the font, weight, and size from the top of the workspace
![]()
8. Make the navigation
- Select the Rectangle Tool
- Click and drag to draw the rectangular menu
- Choose the Selection Tool then Click the rectangle
- Edit -> Copy
- Edit -> Paste in Front three times
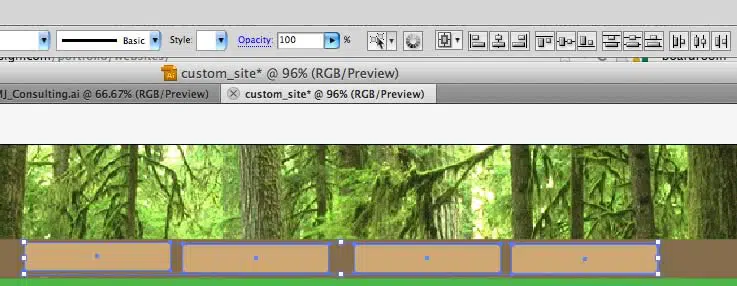
- Hold Shift and click all of the rectangles
- Choose Vertical Align Top from the top of the workspace
- Object -> Group
- Click and drag the rectangles until in position
- Select the Type Tool and label the rectangles for proper navigation
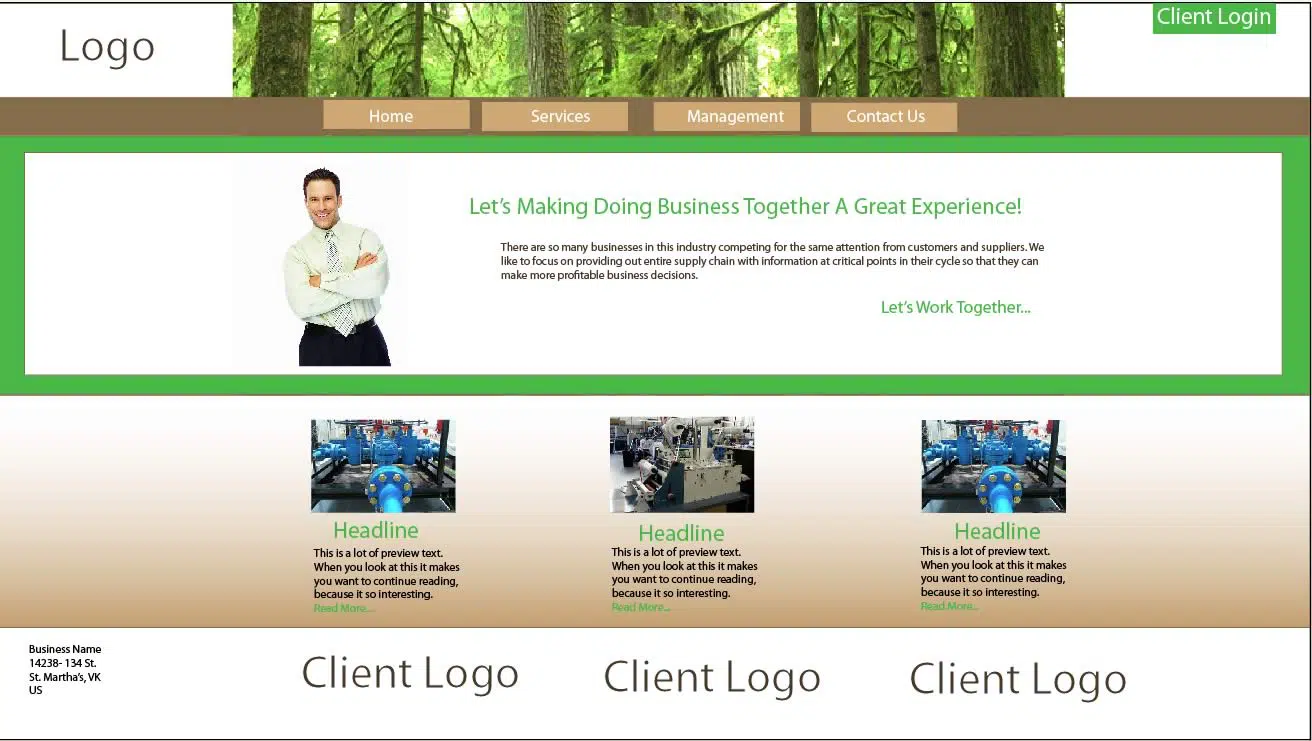
Next, we can use our prototype to build the working site with HTML & CSS.
9. Choose between slices or custom CSS and HTML
Search engines really love semantic code. This means that they want to be able to decipher the type of information that is displayed on a web page. Using slices is not always the best approach to make the search engines happy. Keep in mind, using proper HTML and CSS for text based items, such as navigations and articles is best. Though, graphic artists will more greatly benefit by using slices when they aren’t interested in coding. For this tutorial I will demonstrate how to use slices.
- Select the Slice Tool from the Tools panel.
![]()
Draw a rectangle around images that will be turned into links, have JavaScript added to it, or custom CSS properties. A good rule of thumb to go by is: If it is textual it needs to be done manually with HTML and CSS.
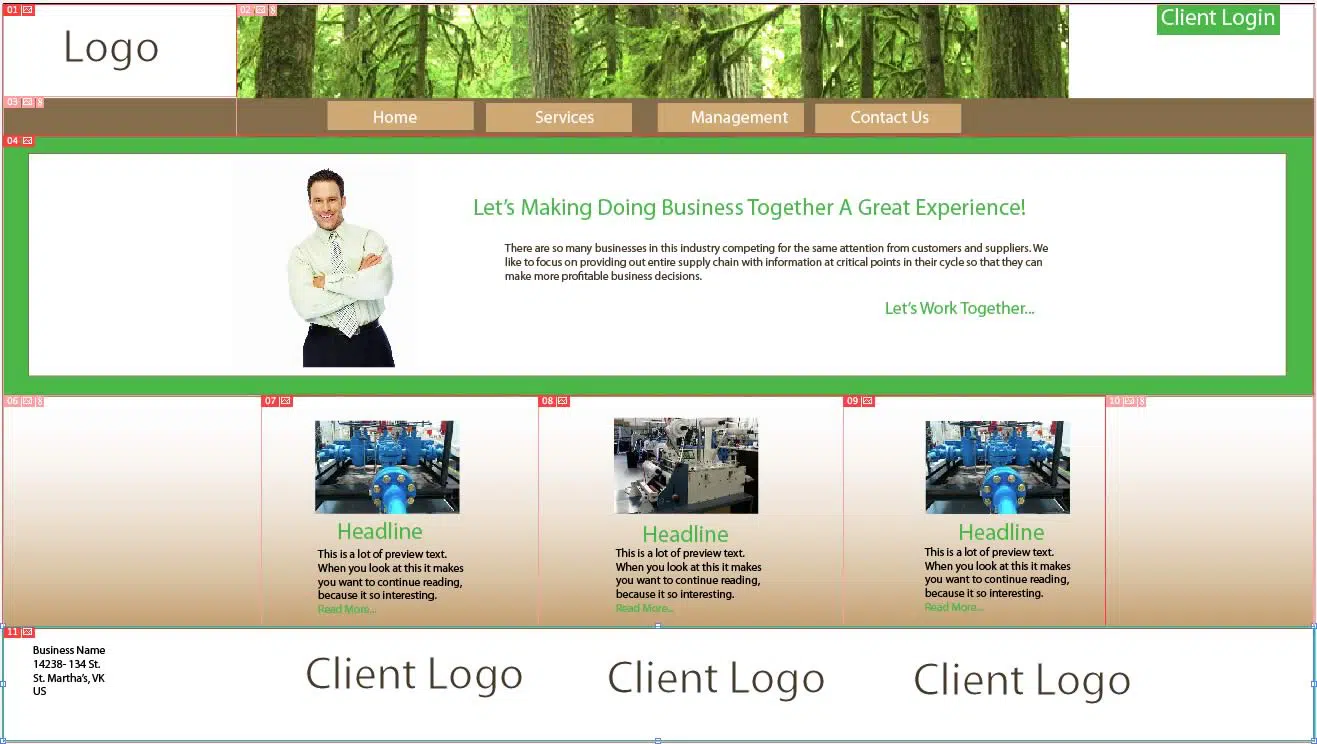
File -> Save for Web & Devices… -> Save -> Change Format to HTML and Images:

10. View the finished product in a browser:
- Navigate to the saved HTML file
- Ctrl + Click the file
- Select Open With -> Choose browser
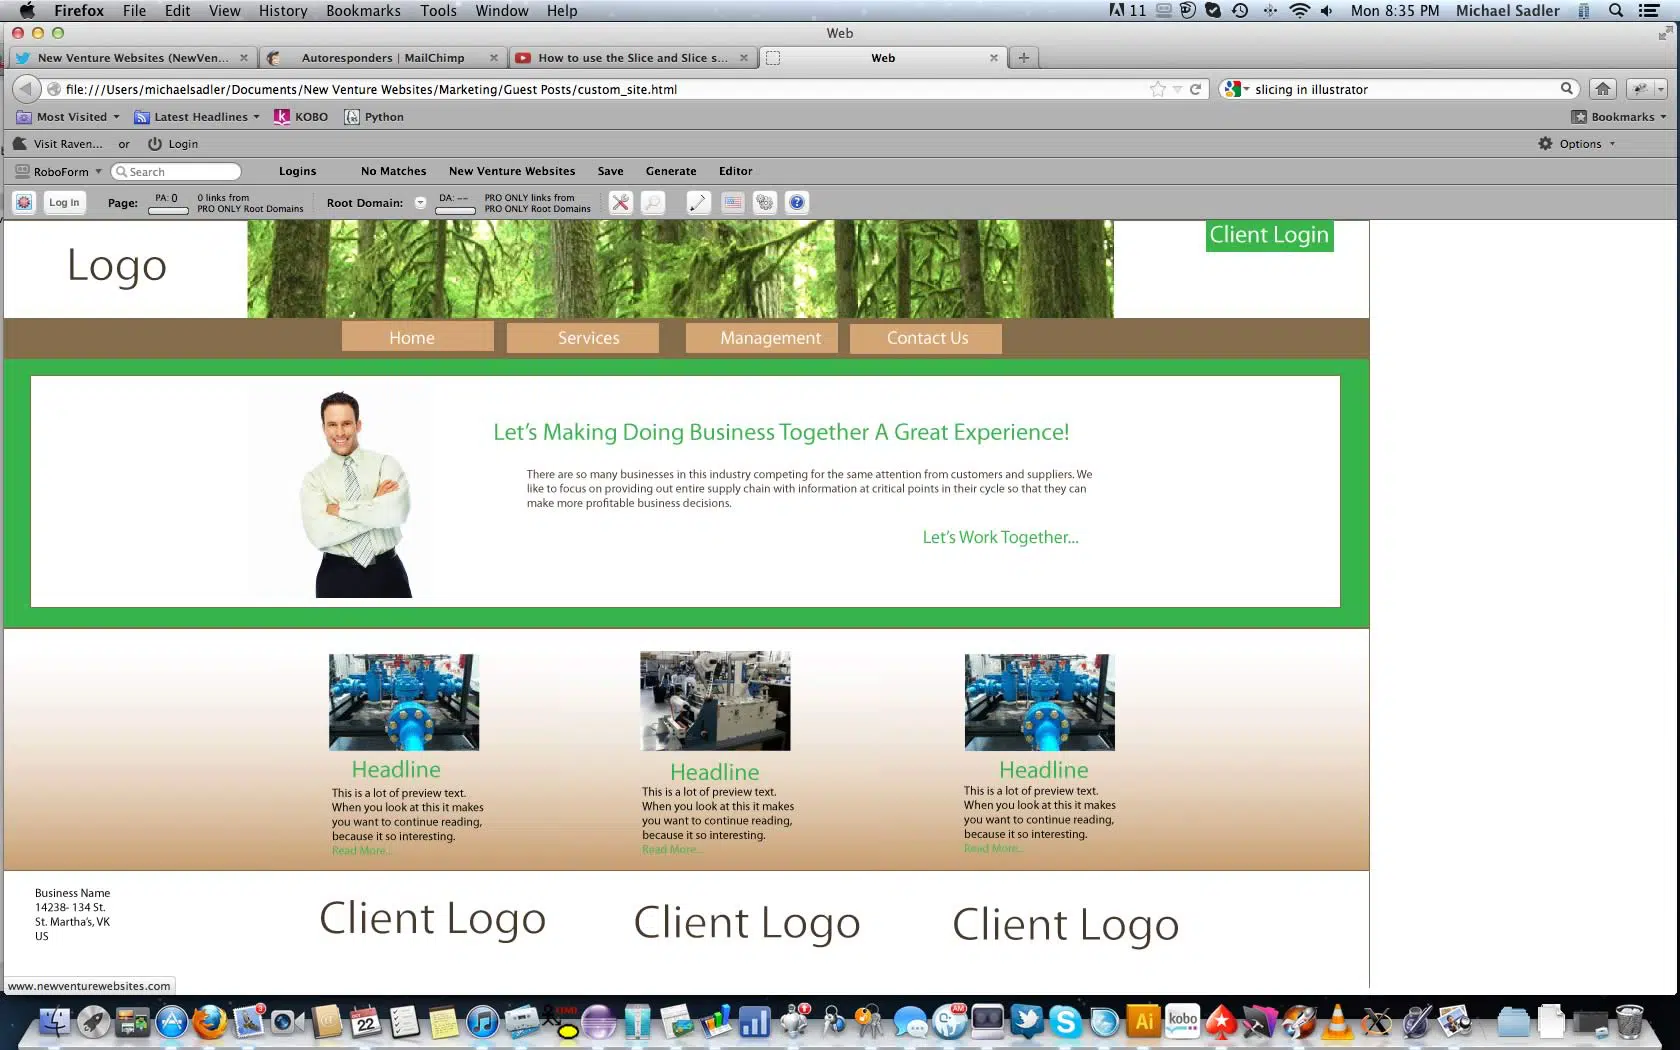
Adobe Illustrator is a great tool for prototyping websites. It doesn’t take too long to be able to design a professionally looking markup that you can use to get client feedback before developing.
About the Author
Michael Sadler teaches professionals in how to learn web development. He has a Commerce degree from the University of Alberta School of Business in Management Information Systems and a certificate as a Web Developer from NAIT. He founded New Venture Websites, a custom website development company. He is found on Twitter: New Venture Websites.

A fantastic and *FREE* Adobe Illustrator alternative is Inkscape. It’s available for Linux, Windows, and Mac OS X. There are tons of resources and tutorials available online for it as well. I highly recommend it!
Michael, designs like a commerce major and backend developer– that is, he has no understanding of the principles of design. This is total rubbish, and what is more Cindi K and Chill actually think its good- no wonder there is so much bad web design on the web. I am currently subscribed to your service and if you keep pushing out stuff like this I will be moving on
I know the principles of design can be added to these techniques by those that want to go further in that direction.
I am a web a developer. My main focus is on supplying small businesses with information in a way that makes them competitive. You are right that I did not show design principles.
This tutorial is intended to show some common techniques used in Illustrator and how it can be used to get client approval before jumping into development.
I’m just getting into Web design, and this is a cool tutorial. Thx!!
This tutorial can be made with Corel Draw X5 too. It has the same more or less actions and yes I have create a least two websites the last days. Thank for sharing this to us.
Wow! What a great tool for us non-coders to use – I really appreciate it!