
With the advancement of technology, we have come across using various browsers to browse the Internet. And all the browsers are made to be compatible across all the devices, including laptops, tablets, and mobile phones, with various screen sizes and resolutions. Every browser comes with its configuration settings configured to execute whenever a user uses it. But with the advanced tech users and individual users, it can be a headache or downright annoying. Hence, initially, people used to change the settings of a browser using various means. And sometimes, that worked perfectly. But other times, the settings were reset to default when the browser was opened after closing it down.
Here, in this blog, we are going to show you how you can delete the browser’s default settings using merely a CSS file. These browser settings include margin, padding, and border settings that vary from browser to browser.
1. Creation of an HTML file:
HTML stands for HyperText Markup Language, which lets you create web pages of a website. Once this website is hosted on a server, anyone using the Internet can visit and take a look at this website. HTML is a simple language that anyone can master because there are many tutorials available on the Internet. It is a powerful tool that lets you create what you can visualize and meet your requirements.
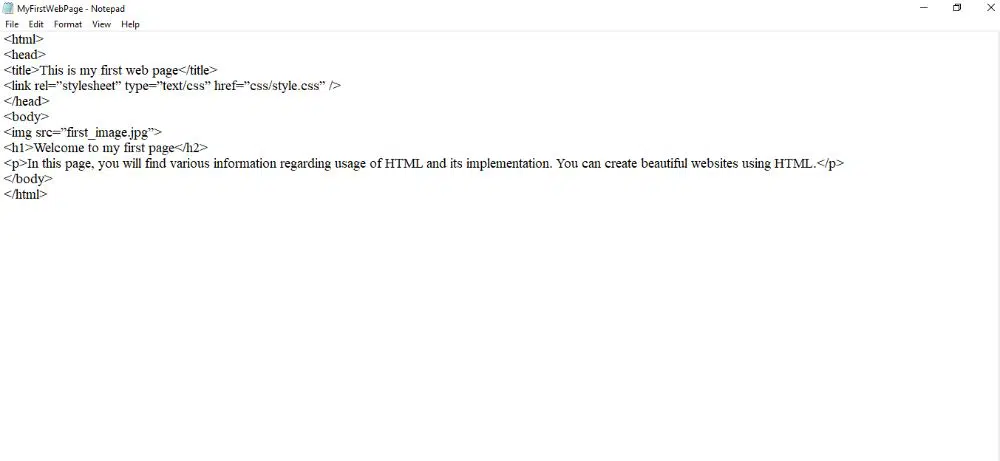
So, here we take a look at how we can create a basic HTML file that talks about first page of your website. The HTML code looks like this:
<html>
<head>
<title>This is my first web page</title>
<link rel=”stylesheet” type=”text/css” href=”css/style.css” />
</head>
<body>
<img src=”first_image.jpg”>
<h1>Welcome to my first page</h2>
<p>In this page, you will find various information regarding usage of HTML and its implementation. You can create beautiful websites using HTML.</p>
</body>
</html>
You have to write this HTML code in a text editor. Various text editors like notepad and notepad++ are the best editors. Notepad++ includes indentation when you write the code to let you have better readability of the code when it comes to fixing errors. Once you write this code, save the file with the file extension of .html. In this case, you can save the file with the name MyFirstWebPage.html.
The HTML tag <link rel=”stylesheet” type=”text/CSS” href=”css/style.css” /> lets you link the cascaded style sheet that we are going to use. The HTML tag <img src> lets you source an image named first_image.jpg on your webpage. This renders the image on the webpage, but it is important to note that the file extension .jpg should not be ignored. <h1> lets you add first heading on the webpage while <p> stands for paragraph. Whatever you write in the <p> tag shows up on the web page in the form of a paragraph.
2. Opening the HTML file:
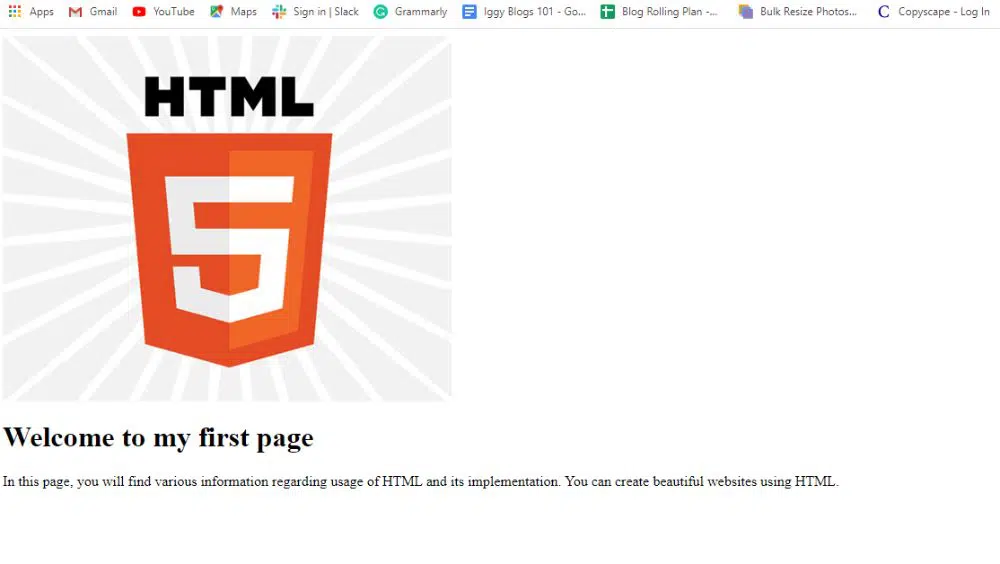 Once you have saved the HTML code in the text editor with the file extension .html, you can now open the file in the browser. As you open the file, you can see that the HTML5 logo image can be seen on the top left corner of the page. Beneath the image, you can find the text that we inserted between the opening and closing <p> tags.
All the elements are aligned in the page according to the default browser settings in terms of padding, margin, and border values. These values should be reset to zero when you are working with the creation of a web page. This can be accomplished using CSS.
CSS stands for Cascaded Style Sheet. With a CSS in place, you can rest assured that your page layout, color themes, and typefaces are determined well. While HTML decides the standing point of a webpage, CSS decides how a webpage appears.
3. Creating a CSS file:
As discussed previously, we have to create a CSS file to reset the default settings in a browser. If you open the HTML file in the browser, you can see the margin and other parameters like border and padding across the page. So, here we are going to create a CSS file that resets these values.
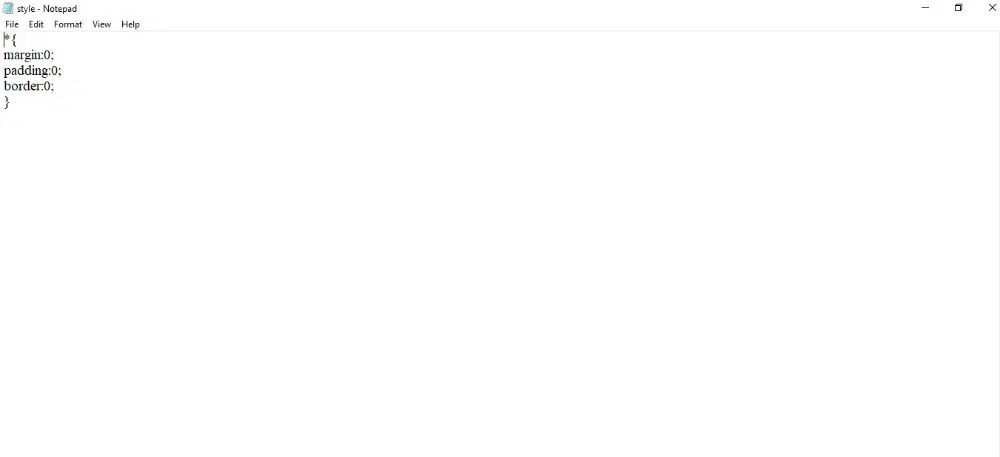
In the same folder, you have to create another folder called CSS. In this folder, you have to create a new CSS file with the name of style.css. You have to write the following code in the notepad file and save it with .css extension to have it practical and functional.
*{
Margin:0;
Padding:0;
Border:0;
}
This code removes the default values of margin, padding, and border settings pre-configured with the browser. Once you have saved the file, you can open the HTML file in the browser and see how the changes have affected it.
Here, the CSS would not make a lot of difference because we have minimal content to fill the web page. But, in the pages where the content is extensive, the style sheet code here makes a whole lot of a difference. And with the extended content, you have to manage the borders, padding, and margin values. These values make the content appear systematic and organized. Hence, you have successfully reset the browser default settings and seen its result in the browser.
Now that we have seen how to delete the default browser settings using CSS, we can now understand CSS while looking at its benefits.
What is CSS?
CSS is known to interact with elements and components of HTML. For instance, if you are working with a paragraph creation in HTML, the HTML code looks like this:
<p> This is a paragraph in HTML code </p>
When you introduce a style sheet, you can make the text appear in blue and in bold letters, making it stand out to the viewers of the web page. The code in the style sheet looks like this:
P
{
Color: blue;
Font-weight: bold;
}
Here, “P” is termed the “selector” that specifies the HTML element that takes up the mentioned changes in the resulting web page. The information between the curly parentheses is termed as a declaration. This declaration contains information about properties and their values that apply to the selector. Properties can be things like font size, font color, font-weight, and many more. And the values of the respective features can be 12, black, and bold. In the above illustration, color is the property, while blue is the value of the specified property.
Types of CSS:
You wonder how the CSS code is applied so seamlessly to the HTML code. Like HTML, CSS script can be written in a text editor. But, you can let HTML refer to CSS code in three different ways. A CSS code can be external, internal, or inline.
External CSS files are saved separately as .css files. You can let these files determine the entire layout and appearance of a single web page and an entire website. And the best part of it is, you require only one file. In the HTML file, you have to include the CSS file in the header section of the HTML code to use the CSS code. The HTML code that allows you to source the CSS file looks like this:
<head>
<link rel=”stylesheet” type=”text/CSS” href=”mystylesheet.css”>
</head>
By writing the above-given code in your HTML file, you can let HTML code refer to your CSS file and execute it on the web page or a website.
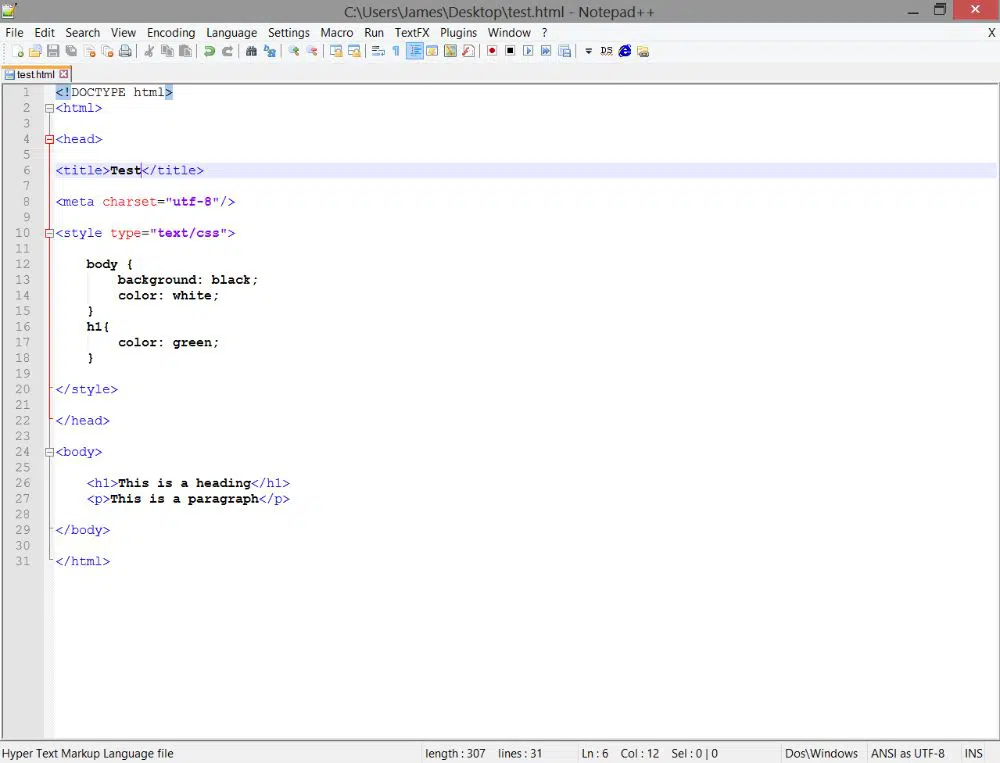
An internal CSS file is a set of code written in the header section of an HTML page. But this type of code is prone to a lot of errors, so it is best to avoid it completely. The internal CSS code looks somewhat like this:
<head>
<style>
Body
{
Background-color: green;
}
P
{
Font-size: 22px;
Color: cyan-blue;
}
</style>
</head>
This code is specifically applicable for the HTML file where this code is included in its header section.
Finally, an inline CSS is jotted down directly in the HTML code, which is applicable to only one instance of the coding. For example, the following code applies the code only to the text between the <h1> opening and closing tags.
<h1 style=” font-size: 50 px; Color: violet;”> Check this headline that has inline CSS code </h1>
Hence, the above code is applicable only to the text that lies between <h1> opening and closing tags.
Benefits of using CSS:
If we are okay with the webpages as a result of HTML, why to use CSS, you would ask. There are so many benefits of using CSS to render your web pages beautifully. As mentioned previously, if HTML is the base of the website, CSS is the website’s aesthetic appearance. Let us take a look at the benefits of using and implementing CSS on your site:
1. Differentiated Style and Structures:
Using CSS is to keep the HTML code and the CSS code separate, which means the structure and the presentation are kept separate. Because all the presentation of the website becomes haywire with HTML, CSS came to rescue. HTML is intended to form a structure or a backbone of the site while CSS decorates it.
Now that you can maintain two separate files where one contains HTML code and other talks about the website’s visual structure, it becomes easier to handle both the files. Moreover, updating your style becomes easier when two things are kept separate. In addition to this, you can also fix errors quickly and find out the origin of the failure. For instance, it is easy to change the background color when the website contains only six to eight pages. But as the pages grow in number, it becomes difficult to keep track of every page and its aesthetic parameters. Hence, when you work with CSS, you just have to change one line of code to make the changes effective in all the web pages. This kind of change can be done regularly and frequently.
2. Rendering web pages quickly:

As we saw that it is an ideal practice to have HTML and CSS codes in two different files, the download time of the web page significantly increases. For instance, if you have a table in your webpage, the browser has to work with the code twice. The first time, it reads the code and understands it. The second time, it rereads the code and renders the table on the web page. The time taken here is more, which slows down your webpage. Using tables while defining your layout and using images within the table can significantly affect the download time of the web page. A picture can be optimized with its size, yet the browser still needs to contact the server multiple times. This proves that images are the most cumbersome content your website can have, after video content.
With the usage of CSS, the download time decreases as you place CSS in a different file. And once the browser reads everything, the CSS code is placed in the cache memory after sending the first request. Hence, the browser does not need to download all the information repeatedly. This reduces the download time and keeps your website performing nicely.
3. Greater control over website design:

With all the files managed separately, you gain more control over how your website appears and performs. HTML has very few formatting options when it comes to manipulating the textual content. While CSS has many formatting options that you can use, you can also let CSS decide how and which order of the page rendering is followed. If your website has some bulky graphics, you can place them at the end of the page and make sure that the visitor reads some content before exploring the graphics. While they understand the content, you give your website a chance to render the heavy graphics.
You can also use CSS to control how you can print a page from the website if the need to do so arises. CSS code can be tweaked in specific places to make the selected or all the webpages printer-friendly.
4. SEO perspective:

As CSS and HTML are maintained in separate files, it is easy for the search engine crawlers to read through the files. Moreover, CSS contains minimal code to decide on the layout of the website. Hence, if the crawlers can skim your files, then they also index the webpages rapidly. Moreover, with natural readability, the sites, and web pages rank higher when you use CSS to design your website’s layout.
Conclusion:
This blog talks about how you can delete the default browser settings using CSS. Moreover, we also established how CSS could benefit your website and its web pages. Anyone who is a newbie to this information can refer to this blog and understand it thoroughly.

Override would suit better.
Sure it is more complete. But in any case will the new css replace the default one for ever or just in the present session?
Thanks
Maybe this is a more complete one?
/* reset */
html, body, div, span, object, iframe,
h1, h2, h3, h4, h5, h6, p, blockquote, pre,
abbr, address, cite, code,
del, dfn, em, img, ins, kbd, q, samp,
small, strong, sub, sup, var,
b, i,
dl, dt, dd, ol, ul, li, fieldset, form, label, legend, caption, tbody, tfoot, thead,
article, aside, canvas, details, figcaption, figure,
footer, header, hgroup, menu, nav, section, summary,
time, mark, audio, video {
margin:0;
padding:0;
border:0;
outline:0;
font-size:100%;
vertical-align:baseline;
background:transparent;
}
table, tr, th, td{
margin:0;
padding:0;
border:0;
outline:0;
}
body {
line-height:1;
}
article,aside,details,figcaption,figure,
footer,header,hgroup,menu,nav,section {
display:block;
}
nav ul {
list-style:none;
}
blockquote, q {
quotes:none;
}
blockquote:before, blockquote:after,
q:before, q:after {
content:”;
content:none;
}
a {
margin:0;
padding:0;
font-size:100%;
vertical-align:baseline;
background:transparent;
}
/* change colours to suit your needs */
ins {
background-color:#ff9;
color:#000;
text-decoration:none;
}
/* change colours to suit your needs */
mark {
background-color:#ff9;
color:#000;
font-style:italic;
font-weight:bold;
}
del {
text-decoration: line-through;
}
abbr[title], dfn[title] {
border-bottom:1px dotted;
cursor:help;
}
table {
border-collapse:collapse;
border-spacing:0;
}
/* change border colour to suit your needs */
hr {
display:block;
height:1px;
border:0;
border-top:1px solid #cccccc;
margin:1em 0;
padding:0;
}
input, select {
vertical-align:middle;
}